So you’re a solo developer, but you’ve just lost your computer and all of the files on it. Or you’re working on a team and people keeping writing over each other’s code.
How could you prevent these problems from happening?
The answer is Git and version control.
Git, and by extension, version control can act as a backup for your files in the project you’re working on. And it manages the version of the project and makes merging code a breezr. Plus Git adds a lot of other features like branches, tags and other things to make your workflow so much better.
So why not give it a try.
What is Git?
To understand what Git is, you first need to learn what version control is. Version control essentially manages changes to source code in projects over time. You place code into containers called repository and the version control system will keep track of the version every time you make a commit, or “save” the version of the source code.
From here, you can create branches to make changes separate from other parts of code. So for example, you can have the main, master code in one branch and work in another branch for a feature to add and bounce between them without messing up any code.
Git is the most popular version control system. It’s one of the easiest to use, and has the widest user base. And if you’re working with a team, it’s the one you’re most likely going to use.
Why you should use Git?
Git and, in the same breath, version control are absolute musts when you’re developing just about anything. It’s so much more powerful than your typical save, and it will save you more times than you think.
For example, if you’re working on a team, having two people work on the same file at the same time would be problematic without Git or version control. What do you when both people are done with the file? Will one set of changes be overwritten or will you have to go in and move code by hand?
With Git and version control, you won’t have to worry about stepping on other developers. Multiple people can work on the same file to make the project better. When they’re done with their work, you simply merge the two together, and carry on with the project. Simple as that.
But even if you’re not working on a team, it has immense benefits for solo developers. For example, I work between a MacBook and an iMac. To keep the code the same between the two, I use Git to make sure the repositories are always synced. Also, if you make a mistake in a commit, you can alway revert it back to an earlier commit.
And finally, if the dreaded hour comes for your computer, all of your files for the project are already saved in the cloud (so to speak). That’s some good peace of mind.
How to install Git
Unfortunately (or fortunately depending on how you look at it), there are different ways of installing Git for Linux, Mac and Windows. So I’d advise you to use this guide for how to specifically to install Git on your machine.
So instead, I’ll discuss how to create a repository locally and clone one from a host to your machine.
First, to create a local repository, go into the terminal/command line and navigate to the directory where you want the repository to be. Then run the following command.
git initTo clone a repo from a host to your machine, again navigate to the directory you want it to be in via the terminal/command line, and type the following code.
git clone <repository url>Do note that some hosts might add additional instructions in order to clone the repository, so you’ll want to read the documentation for the specific host.
The next part is committing changes to the repository. When you’re ready to make a commit, navigate to the directory in the terminal/command line, then run the following code.
git add --all
git commit -m "our first commit"
Using git add --all will make all changed and added files added to the commit. Then with git commit, the repo will commit those files, “save” them and name the tag with whatever text you put inside the double quotes.
There are so many more things that you can do with Git in this fashion. I highly recommend reading this tutorial from Atlassian on all of the things you can do with Git in the terminal/command line.
Git clients and hosting
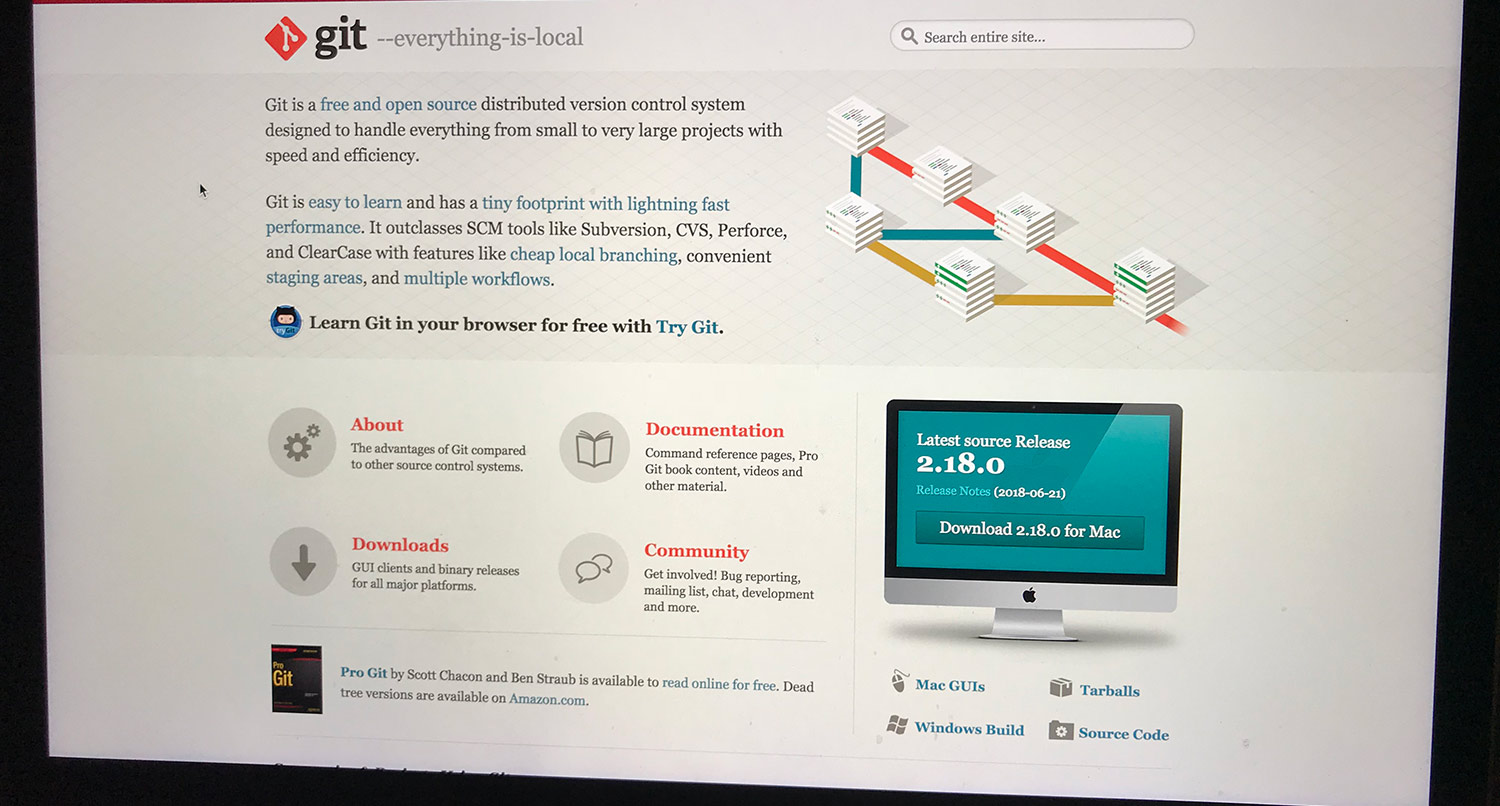
Now, once you have Git installed on your system, you can use it through the command line/terminal without any sort of interface. The Git website has a trove of information if you want to go that route.
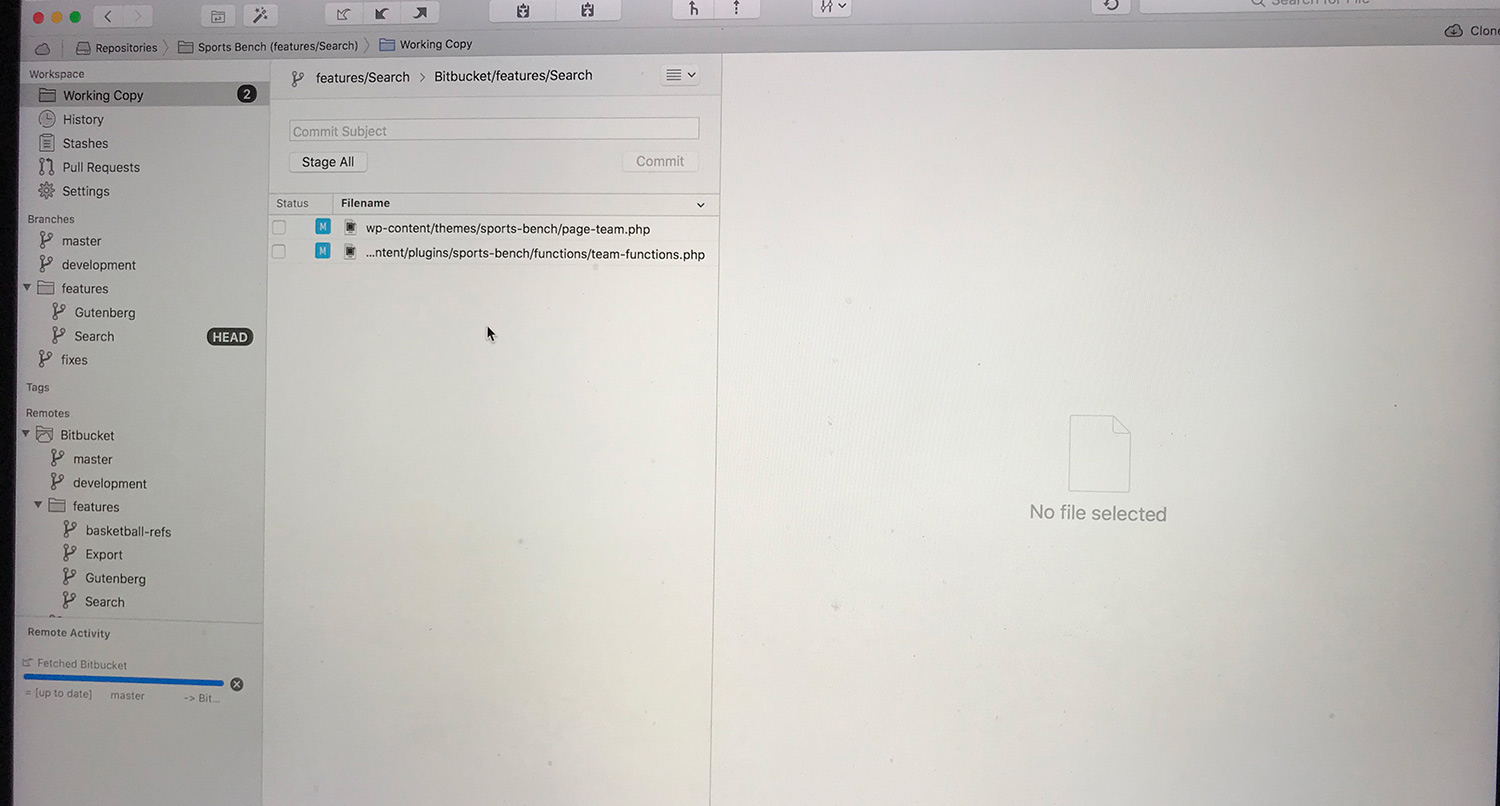
But if you prefer a nice, clean interface, there are plenty of Git clients out there to help you out. I currently use Git Tower, which is the most powerful one out there. The one catch is that it does cost a slight chunk of change per year to use.
If you aren’t in a position to pay, there’s also SourceTree, which I used in college courses and worked well. And you could use the GitHub client for your machine, although it only works with GitHub repositories.
Finally, you’re going to need a place to host your code online as backup and a place for people to get the code, particularly if you’re working with multiple computers or team members. By far the most popular is GitHub, which allows you to host public repositories for free. I use GitHub repos for any WordPress plugin or theme I have in the respective WordPress.org directories.
But there’s also BitBucket, which allows you to host public or private repositories for free, Beanstalk, CloudForge, Codebase and many more. Tower compiled a list of them on their website for you to go check out. There’s something that will fit your needs.
So if you’ve been developing without Git, you really should take some time to check it out, learn it and set it up on your machine(s). It takes some work to start out, but you’ll be so much better off in the long run.


