Last time I talked about what Git is and why you should be using it. Today, I’ll go a bit further and show off my Git setups for the projects I work on.
I’m sure I’m not the only one who had a hard time finding the right Git workflow. It’s a completely different way of thinking about things and it can be a bit tricky.
So I would like to share my setups that I use. These might not be exactly perfect for you, but hopefully it can help get you started.
Using branches
Before I go into my setups for Git repositories, I want to go over branches. Branches are a very valuable part of using Git. And it honestly took me a bit of time to get them.
The easiest metaphor for branches is that they’re like branches on a tree. The trunk of the tree is the master and the other branches are branches from the trunk. And you can move from branch to branch.
So in a more applicable sense, branches are kind of like containers of code. Each branch sort exists separately from each other and contains changes different from the others. And when you check out a different branch, you’ll see the files in the directory change.
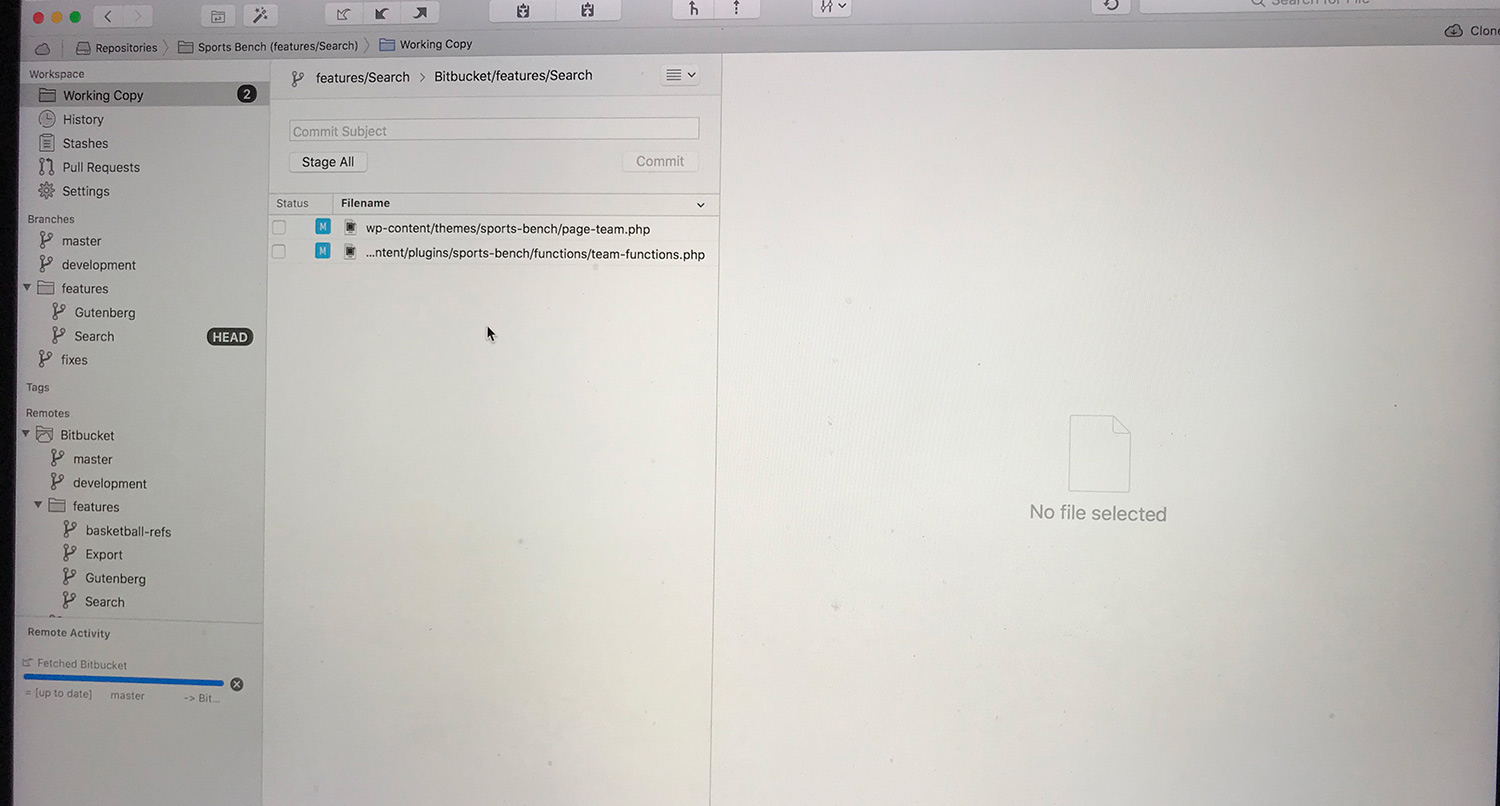
So for example, typically I’ll have master, development and fixes branches for my projects. The fixes for the project go in the fixes branch. The new features go in the development branch. And the master stays the same until a new release is ready.
I can also move between the fixes and development branches without crossing code. This is particularly helpful when I’m adding a new feature, but need to release a minor update to fix something. I can add the fix to the fixes branch without the development code ruining anything.
And then the best part is that I can merge the development and/or fixes branches into the master branch for a release. See, so powerful.
Set up for client work
So I have two different types of setups for my repositories depending on the project type. I’ll talk about the setup for custom themes and plugins later, but first I’ll go over my setup for client work.
Honestly, my setup for client work is super simple. Most of the time I just use one branch, master, for the entire project. Tasks are usually knocked out one at a time, so I don’t need a whole bunch of branches that do nothing but slow down the workflow.
But after the initial launch, if there’s still work to do, I’ll break down the repository to master for production and staging for, well, the staging site. Development work happens now on the staging branch which is pushed to the staging site . If the client is happy, the branch is merged to master and pushed to the production site.
At this point, if there’s any task or feature that’s going to take an extended amount of time, and there are other, smaller tasks that need to be taken care of, I’ll create a separate branch for the longer task. But those are few and far between.
Set up for plugins and themes

My initial setup when I’m working on custom plugins and themes (both for the WordPress directories and selling) is a lot like the setup for client work. I start out with a single master branch. All of the development for that first release goes inside of that branch.
But where it differs is when I push out the first release. At that point, things change within the project. From that master branch, I’ll create a development branch and a fixes branch. Work for new features will go inside of the development branch, while work for minor fixes to go in minor releases goes in the fixes branch. This way, if I need to push a minor release out there, I don’t have to worry about code for new features for the next major version getting caught in the release.
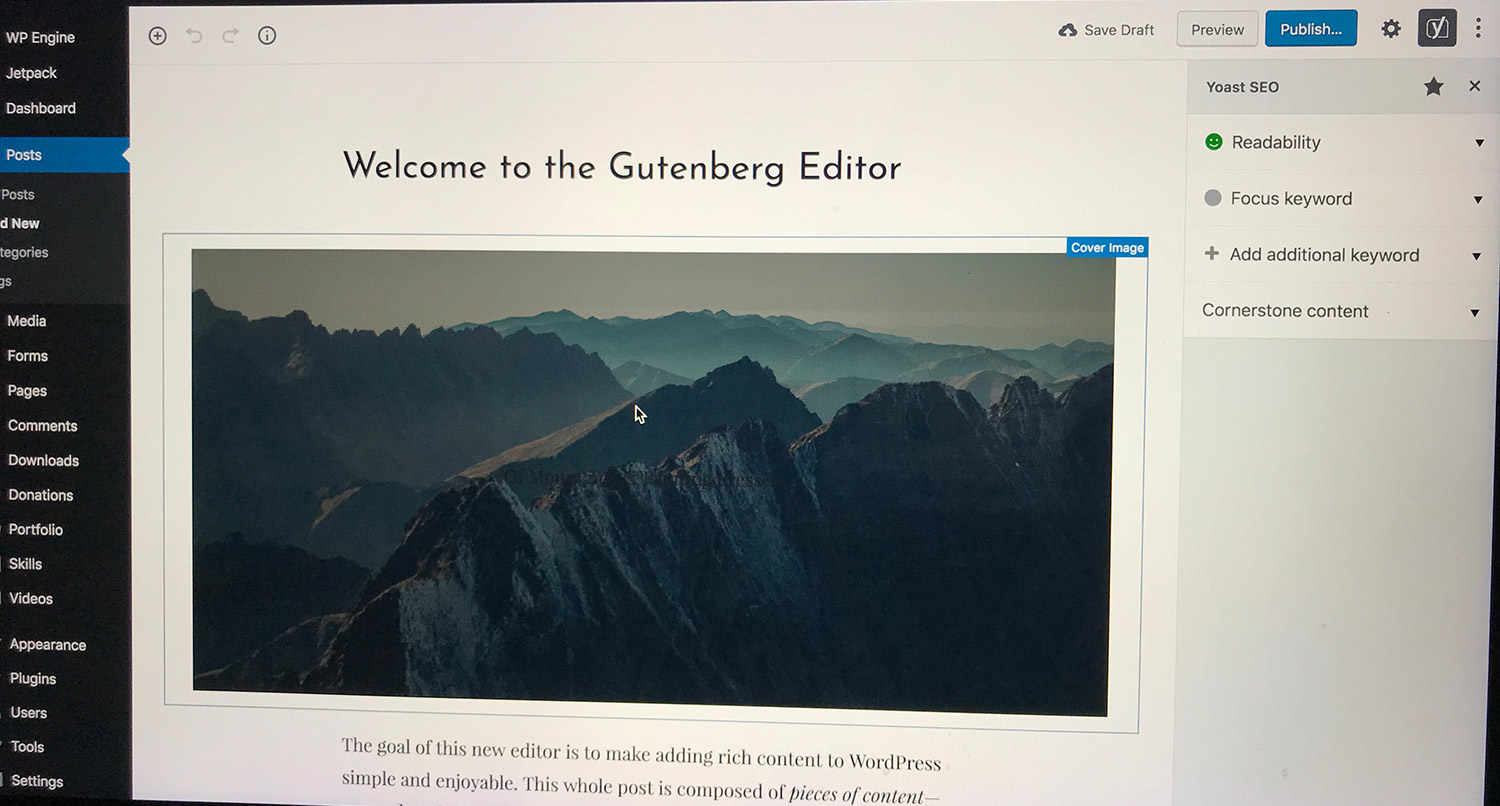
I’ve also started creating branches for features I’m adding for the next version. For example, I’m working on creating Gutenberg blocks for the plugins I have in the repository. So at the moment, each of those repos has a features/gutenberg branch while I add the blocks. This separates it from the rest of the code if I need to create an urgent minor release. Then when it’s done, I’ll merge it down to development, then merge development down to master and release the new version. Simple as that.
So if you’re looking to get into the Git game and need an idea to get you started on how to set up your workflow, I hope this helps you get going. This is what works for me, so it might not work exactly for you. But it should serve as a good starting point for you to tweak and adjust.
So start using Git.