
Getting Google Analytics and Search Console running for your website is great. But there’s still one tool out there that can really take it to the next level.
That’s where Google Tag Manager comes in.
Tag Manager goes beyond the basic analytics you get with Google Analytics and allows you to explore more data into what people are doing on your website. You’ll find that it’s more complex than the other two tools we’ve discussed, but once you’re able to harness its power, you’ll be on your way to a better website.
So today, let’s discuss what it is, what you can get from it and even create your first tag. Let’s go!
What is Google Tag Manager?
On the one hand, Google Tag Manager is pretty similar to Google Analytics. It allows you to track users, where they come from and where they go on your website. In fact, there’s actually a tag that can send data to your Analytics account, removing the need for that pesky Analytics JavaScript code.
But the reality is that is does a whole lot more than that. With Tag Manager, you can also track events. You can see how many people are clicking that Call to Action button on the landing page. You can see how far down the page people are scrolling. And you can even determine how many people are watching that YouTube video on the homepage and how long they are watching it for.
Plus, there’s support for 3rd party tags like Twitter, HotJar and Crazy Egg. It’s a very versatile and powerful tool in a digital marketer’s tool belt.
Having said that, because it’s so versatile and does so much, it’s much more complicated than Analytics or Search Console. Once you get passed setting up a Google Analytics tag, things get complicated and confusing pretty quickly.
We’ll start to take a deeper dive into it as this series goes on, but if you really want to harness the power of Tag Manager, you’ll either need to take a deep dive yourself (this LinkedIn Learning course is a great start) or hire an expert.
Get Google Tag Manager on Your Website Without the Hassle!
Are you ready to get Google Tag Manager working for your website and take your website’s analytics to the next level? The Performance WordPress Website Care plan includes setting up Google Tag Manager for your website as well as help deciphering what it all means. Plus, you’ll get top-of-the-line WordPress hosting, security with Wordfence, weekly updates and so much more. Boost your analytics and make more informed decisions for as little as $99 per month.
Let’s Give Your Website the Care it DeservesWhy you should be using Tag Manager
Simply put, Google Tag Manager gives you the data that allows you to make informed decisions about your website.
You can go beyond the basic analytics to track a visitors journey to see what clicked on and where they ended up. You can see what internal links and calls to action are being clicked on the most. And if you’re an advanced user, you can even use it to set up a heat map for pages to see where the user focus is.
From there, you can make important decisions about your website. You can determine whether or not you need to change the call to action on the landing page, or if the images being shown on a page are leading to conversions.
And over time, that cycle of trying something out, looking at the data, making a decision and doing the process all over helps evolve your website into something that people like. And ultimately, that means more customers and better business. That makes everyone happy.
Get Insights on How to do a Small Business Website Right!
Are you looking to get some help with your small business’ website, but aren’t quite in a spot to take that next step? No worries! I’ve got you covered with a small business newsletter. This weekly newsletter will talk about a different subject related to websites and small businesses each week, as well as highlight blog posts that can help you out. This will help you optimize your business’ site as much as you can while you get yourself into a position to take the next step for your website.
"*" indicates required fields
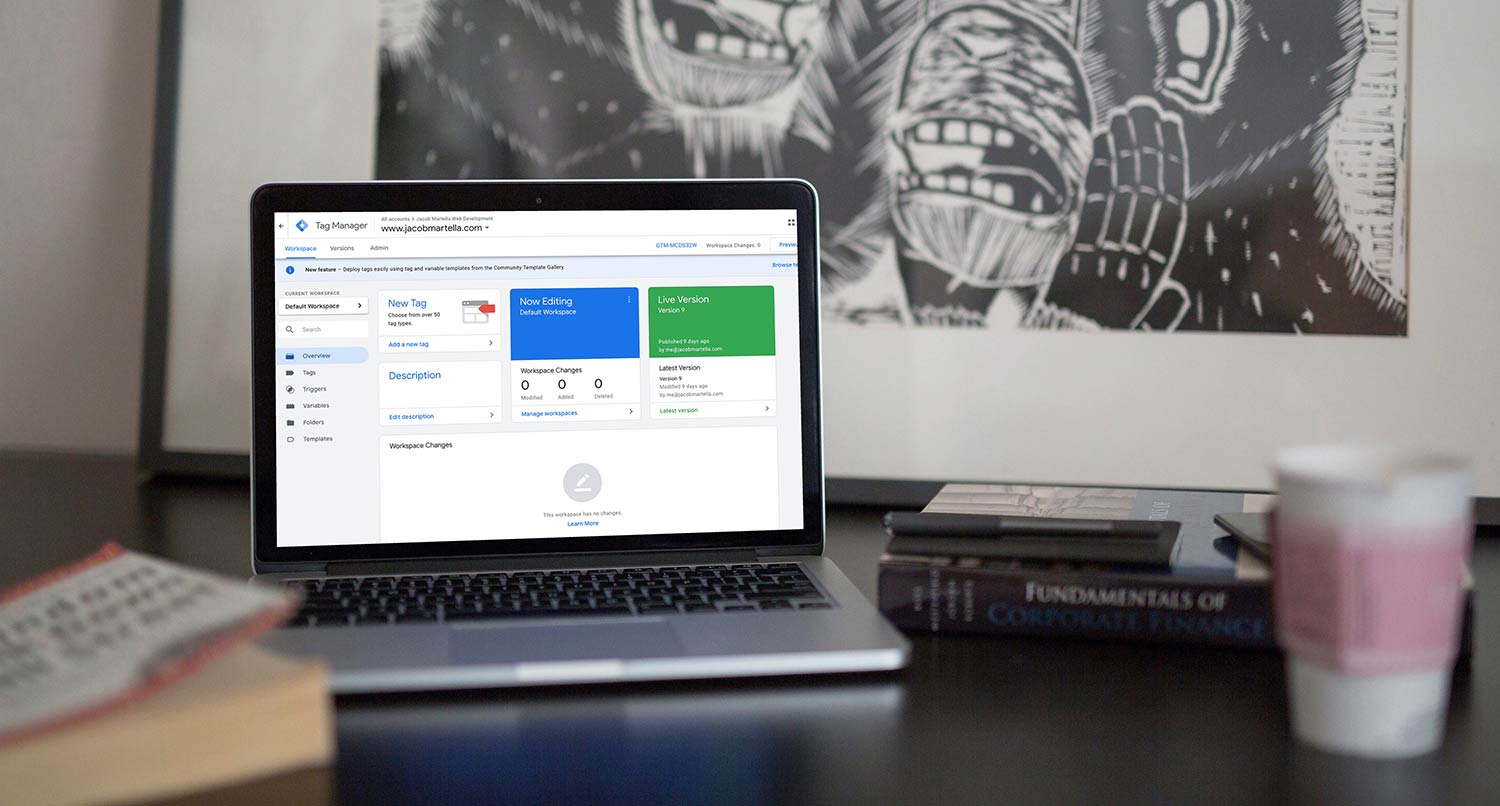
How to get Tag Manager running on your website
Getting started with Tag Manager is pretty simple. When you get on the landing page, you’ll sign in with the same account you have your Analytics with. Next you’ll create a container under the account. I recommend naming it the same as your website.
Once that’s created, you’ll need to connect the Tag Manager account to your website. You’ll go to Admin -> Account -> Container and hit Install Google Tag Manager. The screen will show you two sets of code that will need to be added to your website in a similar fashion to Analytics.
Again, if you are running a WordPress website, you can use the Google Site Kit plugin to connect your website to Tag Manager without touching any lines of code.
Once you’ve got that code on your website, you’re ready to start working with Tag Manager.
Connecting Tag Manager with Google Analytics
Okay, so now that we’ve got Google Tag Manager up and running, let’s start out with a very simple tag: Google Analytics.
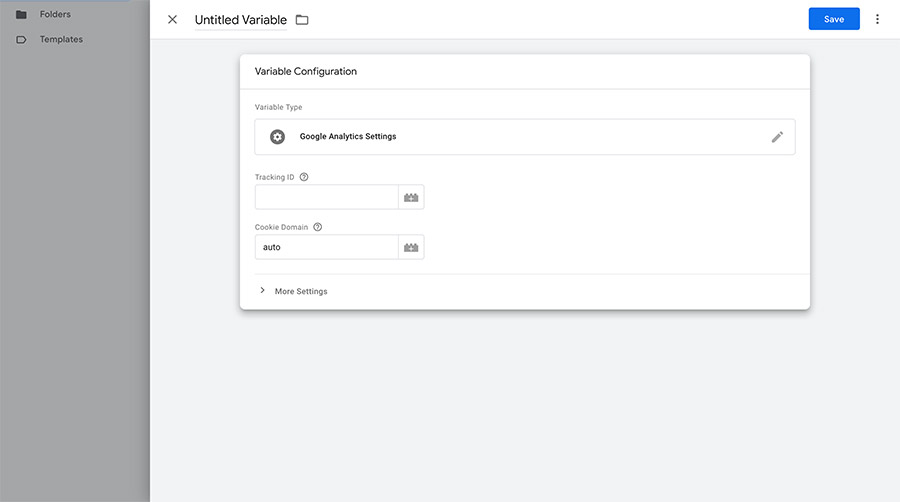
First, we’re going to want to create a couple of our own variables for this. So from the dashboard, click on “Variables”. Then scroll down to “User-Defined Variables” and hit “New”. When the modal pops up, hit the center section to select a variable type. We’ll then select “Google Analytics Setting”. Then enter in your Analytics tracking ID where it says to, hit save and then name the variable.
Now, if you’re using WordPress, you’re also going to want to create a DOM Element variable to keep tags from firing when you’re logged in. So repeat the process above, but select “DOM Element”. Set the selection method to “CSS Selector”, element selector to “body.logged-in” and attribute name to “class”. Then hit save and name the variable.
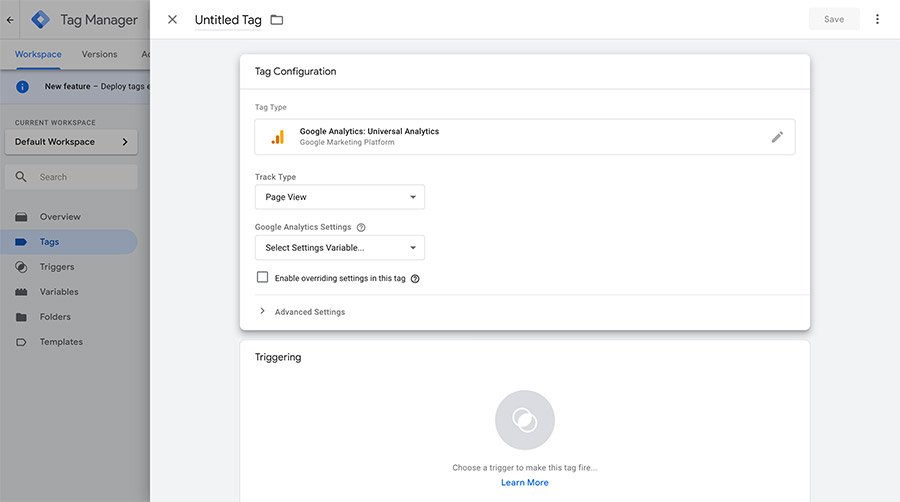
Now we’re ready to create our Analytics tag. So, hit “Tags” from the dashboard and select “New”. Then add a tag configuration and select “Google Analytics: Universal Analytics”. Keep “Page Views” as the track type and then select your Analytics ID variable for the Google Analytics Settings.
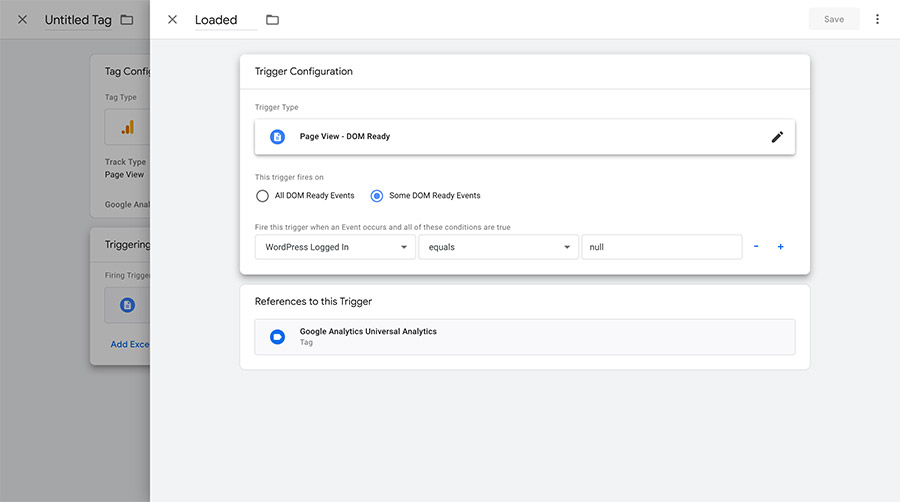
Next we need to add a trigger for this tag, so go back and add a tag. You’ll want to select Page View – DOM Ready. If you’re using WordPress, check the “Some DOM Ready Events” option and in the area that appears select your WordPress logged in variable, “equals” and then “null”.
When you’re ready, hit save and then save the new tag and name it.
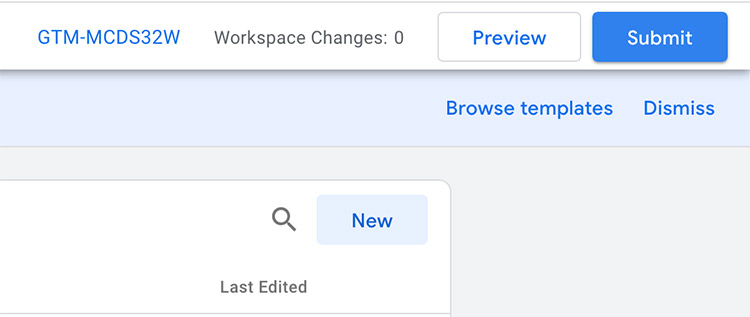
Don’t forget to hit submit
Now you have your brand new Google Analytics tag, but we’re not quite done. We still need to publish it. In your dashboard, hit “submit” in the top right corner and follow the steps to publish your tags. When you’ve done that, you’re now rolling with Tag Manager. Congrats! (Also make sure to remove any Analytics code from your website so you don’t count visits twice!)
As I said before, there’s a whole lot more you can do with Google Tag Manager. And we’re just touching the surface here. But it’s something that is completely worth exploring more, and we’ll do that over the coming months.
I highly recommend that you play around with it and check out some great resources and do more research on it. The things you learn from it could help your business grow online this year!